Are you preparing for your first hiking trip to the mountains? Visiting Colorado or Grand Teton National Park for the first time? I’ve got you covered with the basics!
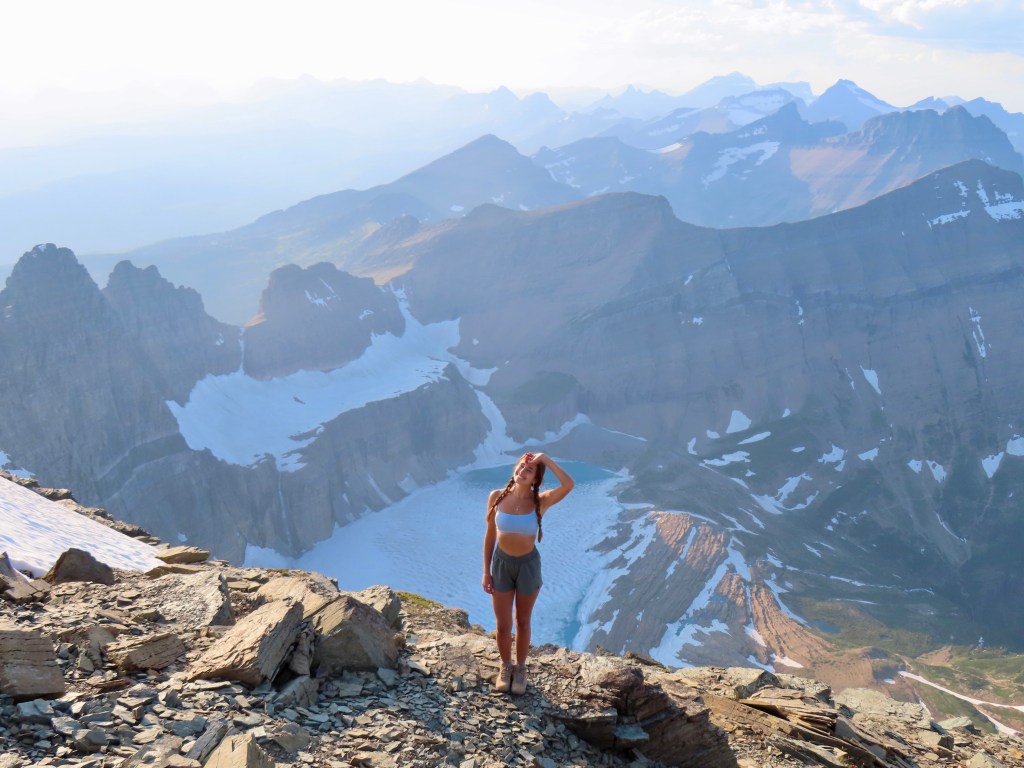
I’m a seasoned mountain hiker now, but I haven’t forgotten what it felt like to drive out west for the first time after growing up in the Midwest. I visited Glacier National Park, Montana, when I was 18, and I struggled my way through many of Glacier’s most popular hikes. A couple years later, I took a summer job in Glacier, and I worked my way up to rugged mountain summits without established trails. Everyone starts somewhere, and you are capable of more than you think.
This guide is specifically about hiking for beginners. For an overview of all the pieces that go into planning a trip to the mountains, read Planning a National Park Road Trip for Beginners on a Budget.
- Seasons and Weather
- Selecting Hiking Trails
- Preparing Your Body
- Hiking Gear
- Wildlife Safety
- Hiking Etiquette
Seasons and Weather
Weather in the mountains is unpredictable year-round, especially on the continental divide (which cuts through Glacier, Yellowstone, and Rocky Mountain National Parks). As you ascend in elevation, the weather gets colder and windier. Above the tree line, you lose all protection from the elements.
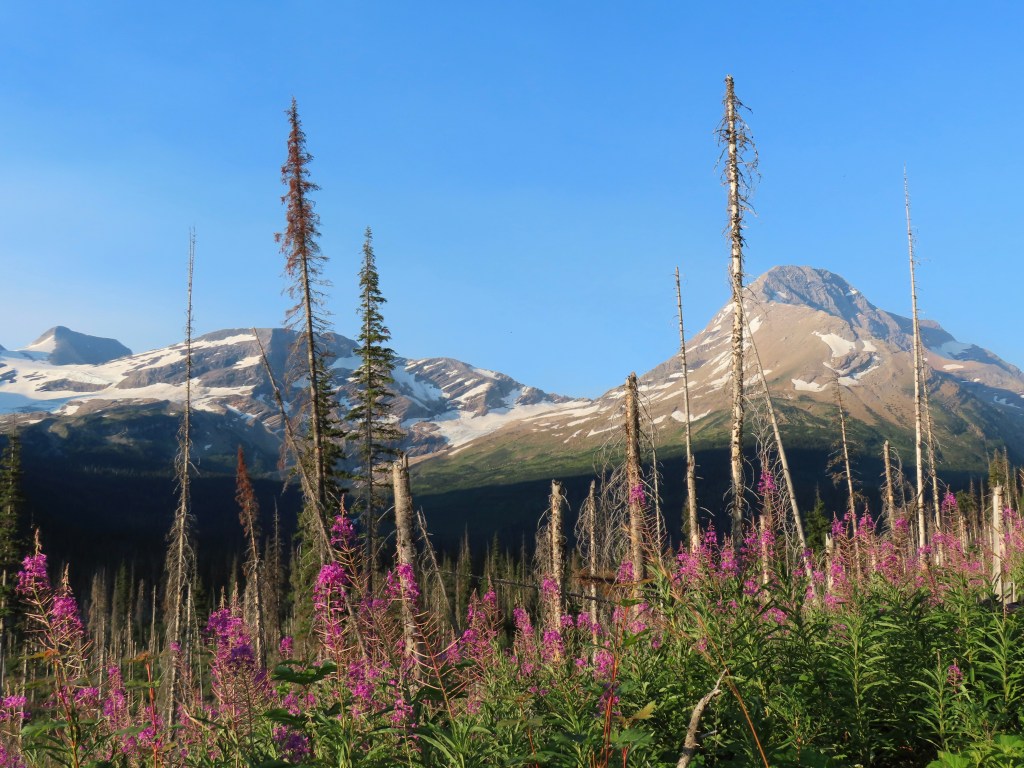
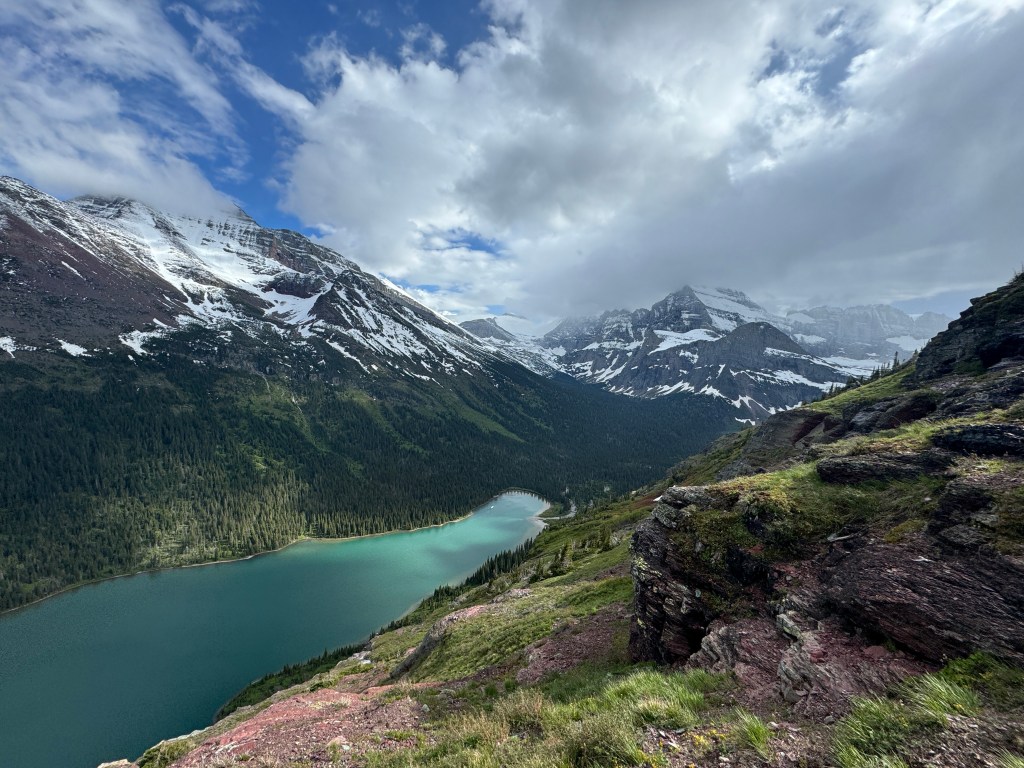
If you are hoping to hike the high elevations, keep in mind that there are often dangerous snow conditions and trail closures as late as June in high mountain ranges like the Rockies and Sierras. In Glacier, some of the most iconic trails might have closures into early July. That being said, June is possibly my favorite month to visit parks like Glacier and Yellowstone. While I can’t summit many mountains, their snowy peaks are a beautiful sight, and the budding flowers and rushing waterfalls are absolutely magical. Plus, it’s much less crowded, and the animals are more active in the front country. For those willing to brave the wind and rain, check out June in Glacier.

In the peak summer months, the alpine trails are well-tread. But this does not mean the weather is tame. A weather phenomenon to be aware of is summer afternoon thunderstorms. Most famously in Colorado and Wyoming, warm summer afternoons often bring thunderstorms, which is why many hikers will start 14ers before dawn—they’re racing against afternoon thunderstorms, not sunset.

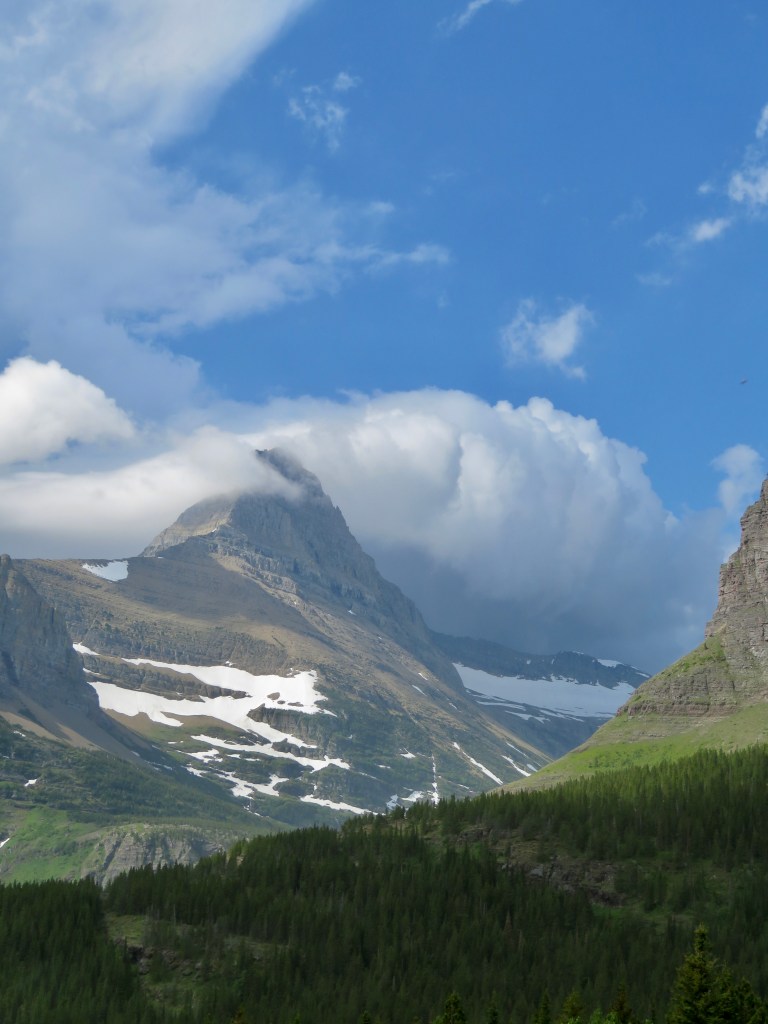
Bad weather often hides behind the mountains, and dark clouds can suddenly appear right overhead. This is why it’s important to check the weather while you still have cell service, and pack for rain even if it’s not in the forecast. (More on what to pack in the “gear” section below.)
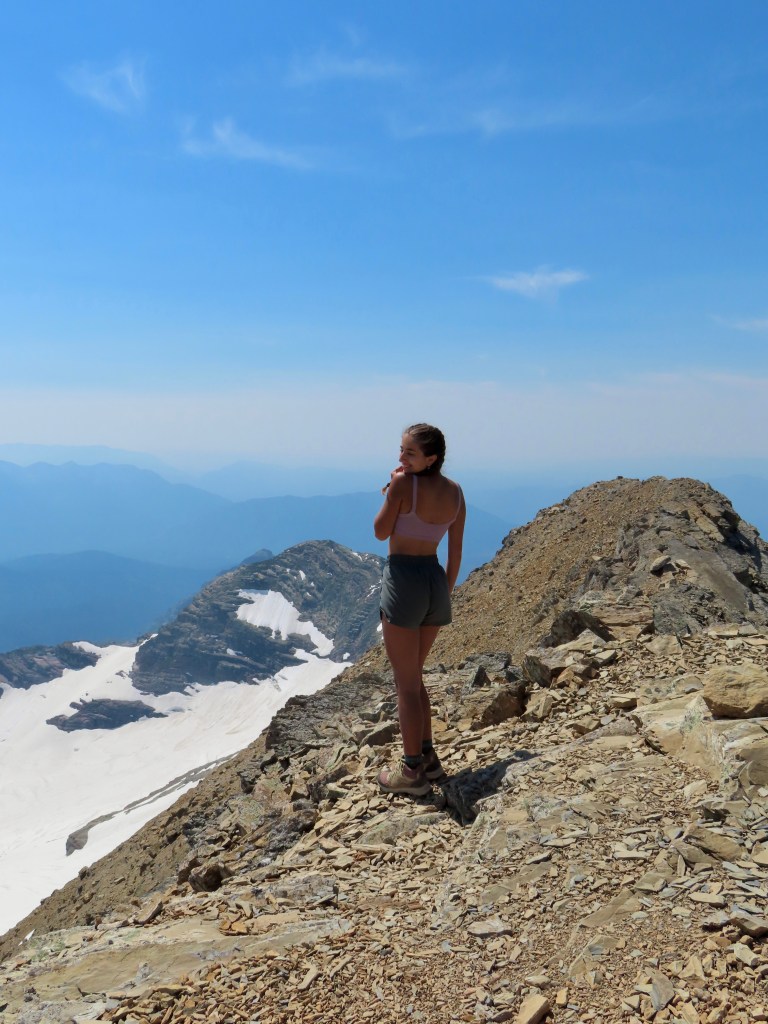
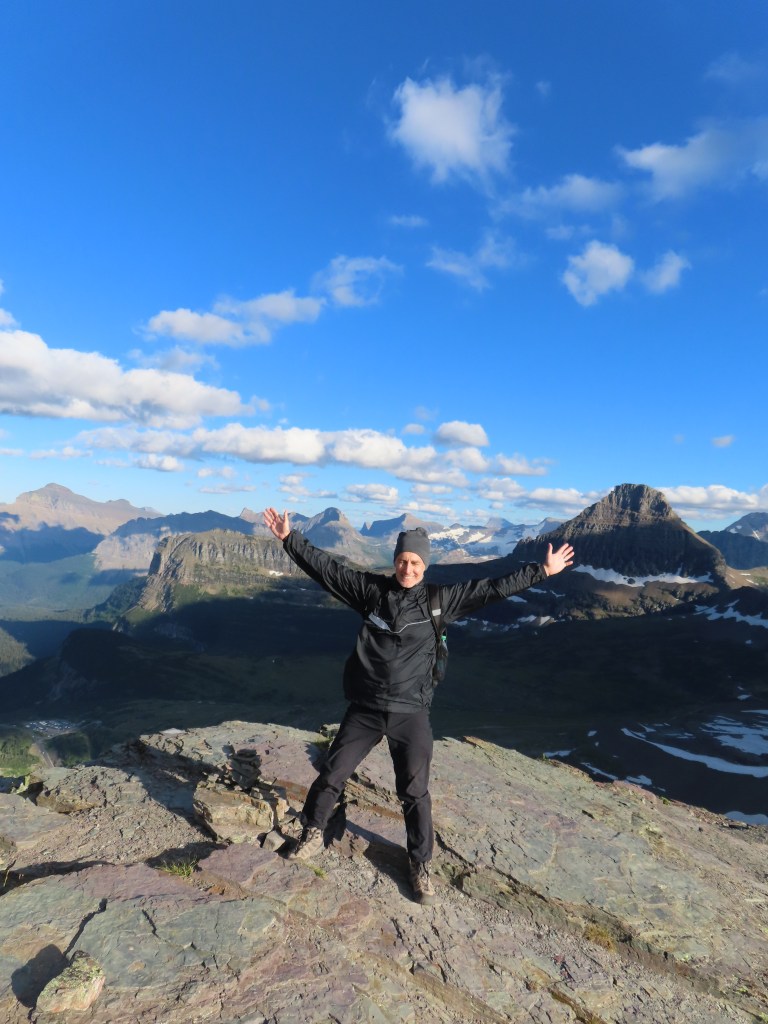
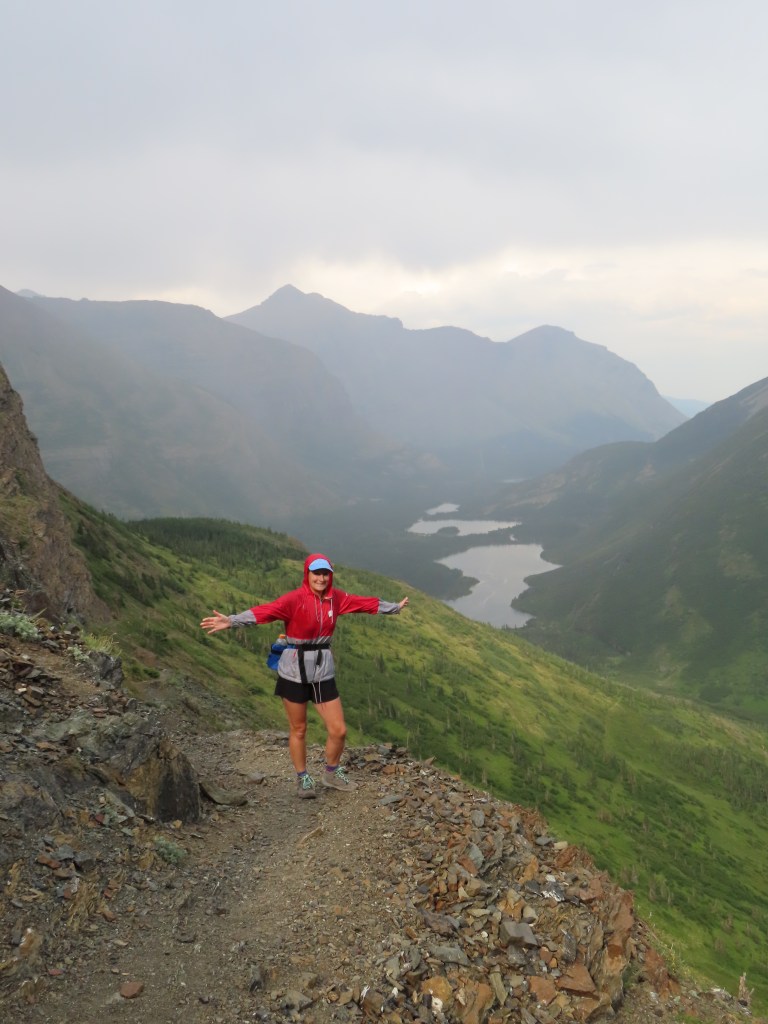
Once, I was climbing a peak in Glacier, and I couldn’t see the wall of approaching storm clouds until I reached the very top. Within minutes, I was hit with powerful winds and rain so heavy I couldn’t see 10 yards in front of me. My “rain jacket” turned out to be a windbreaker that wasn’t waterproof, and I had to quickly descend slick rock to escape the threat of lightning. The mountains humble everyone, so don’t let them catch you unprepared.
Another drawback of summer is the wildfire season. Generally peaking around August, wildfire smoke can travel thousands of miles and obscure mountain views in parks from Banff, Canada, to Yosemite, California. Hiking in smoke also poses a health and safety risk.
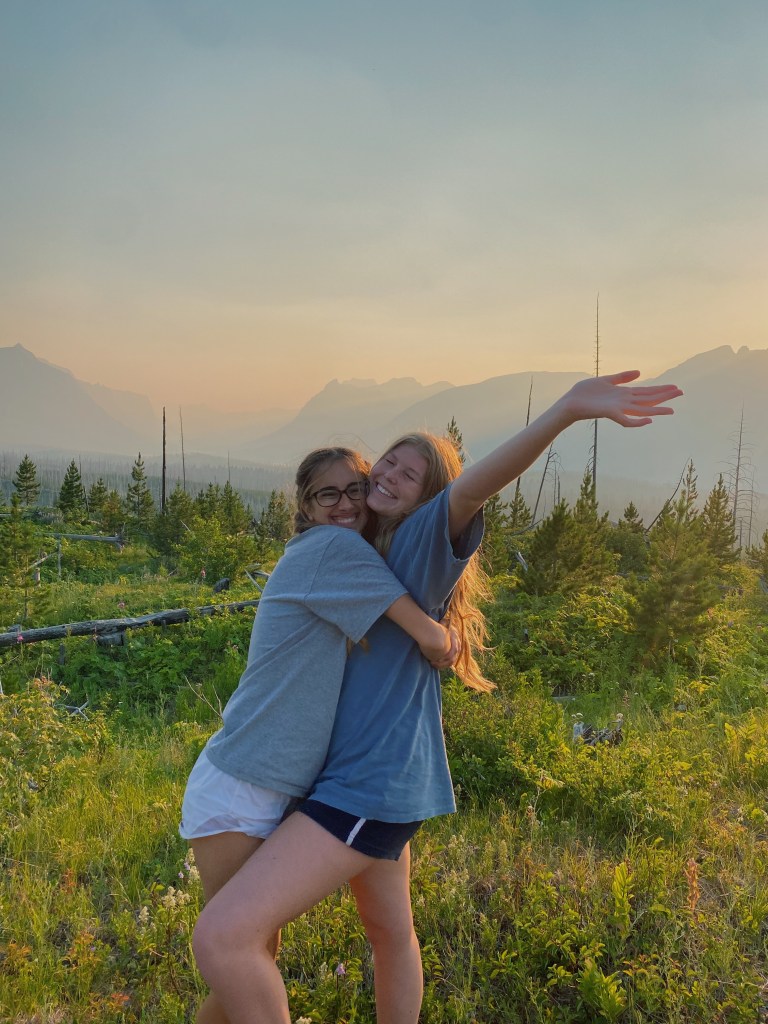
In 2021, when I first arrived in Glacier after two days of driving from Wisconsin, my friends and I rejoiced at the stunning mountain sunset. Shortly after, our campground host noted how sad he was that the wildfire smoke was ruining the sunset. We had no idea that it was smoky because we had never seen mountains like this before!

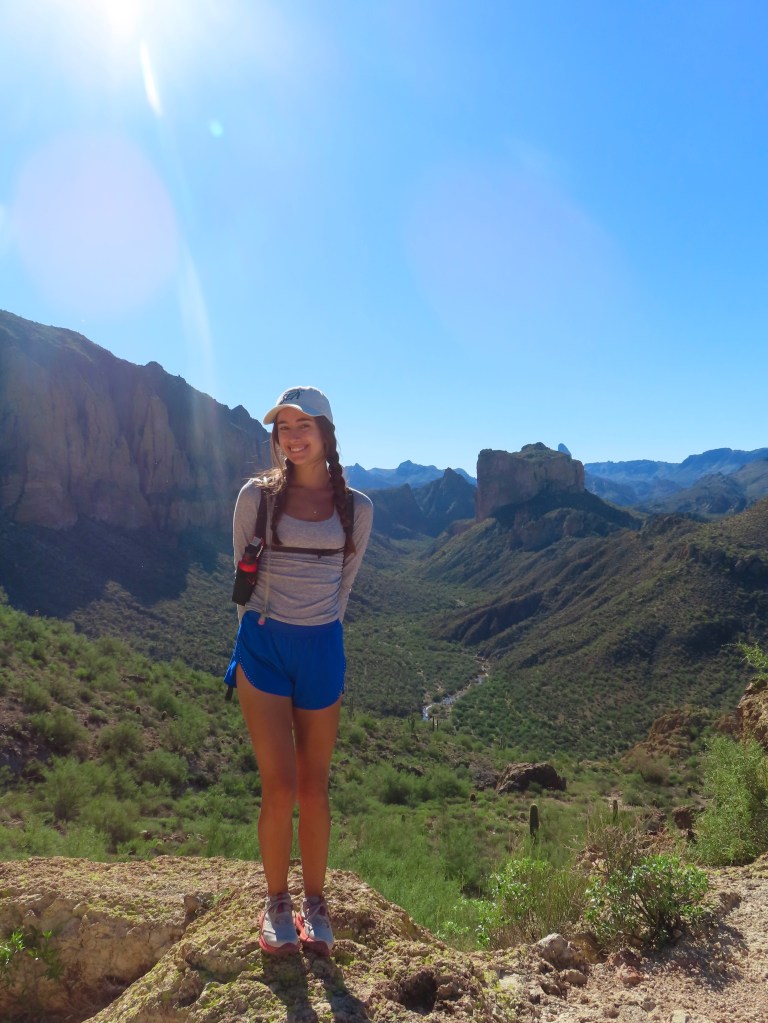
There is, of course, the beautiful season of fall leaves before snow returns to the mountains. I just climbed Arizona’s tallest mountain, Humphreys Peak, in October. The aspens on the mountainside were at their golden peak, while the ones in the town of Flagstaff below were still quite green. Even on a sunny Arizona day, there was ice on the 10,000 ft summit and a wind that had me shivering through my jacket.
In fall, there is always a risk of early snowfall, ice, and high winds. Winds funneled through mountain passes are no joke—they can knock you on your butt or swerve your car. A hiker fell to their death on the established trail up Mount Whitney this October, likely due to the early winter conditions at high elevation.

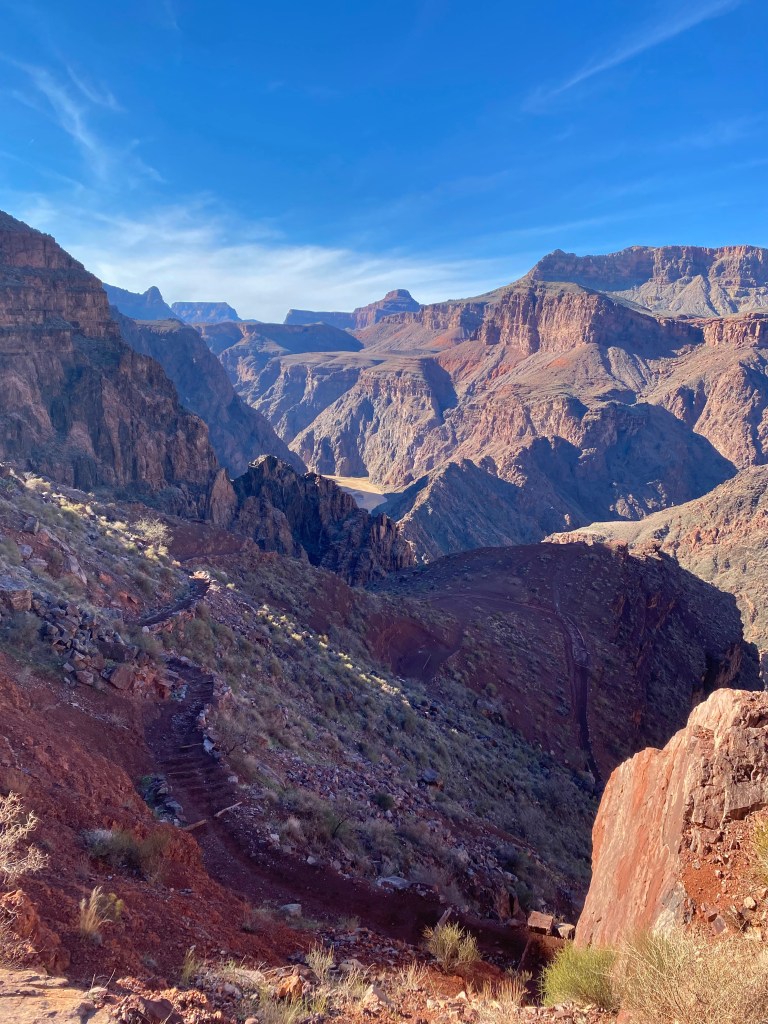
On the flip side, summer is the most dangerous season to hike in southern regions like Death Valley, California, or Big Bend, Texas. Hiking to the bottom of the Grand Canyon is far more enjoyable in winter than summer.
Selecting Hiking Trails
When you’re new to hiking, it’s difficult to identify which trails are suited to your abilities. If you live somewhere without mountains, you can’t really “test” your abilities because walking a mile is very different from hiking a mile at elevation.


When I was planning my first big hiking trip, I discovered AllTrails. It’s the same website/app I use to this day to map my hikes (not sponsored). I also read a lot of travel blogs and Reddit threads for recommendations.
AllTrails ranks hikes easy, moderate, and hard. Be sure to look at not only distance but also elevation. A 2-mile hike that gains 1,000 feet of elevation will be immeasurably harder than a 6-mile hike with 500 ft elevation spread throughout the length of the hike.
Be aware of the average time it takes to complete the hikes (which can also be found on AllTrails). If you plan a 6-mile hike as the only activity of the day, you will likely have an entire afternoon free.
I love reading the AllTrails reviews, too. I often find good advice there, like live updates on the changing fall leaves.


Ultimately, you might have to gauge your hiking ability as you go. Plan a couple easy hikes for the first day, and see how it feels. Choose a hike with multiple views along the journey, so, if you turn back early, you still feel satisfied with what you’ve accomplished.
Preparing Your Body
When my mom visited me in Glacier, I took her on a 20-mile hike. She had used the stair master at the gym to prepare, but said she wished she had trained by taking long walks. Prepare your body for hours of repetitive motion. If you can spend the day on your feet, you can complete strenuous hikes at your own pace. Plus, this is a great way to break in your hiking shoes!
To prepare your body for the thin air at elevation, it’s ideal to have several days in the area. Take the first day to acclimate with some light physical activity. The day before my family hiked Colorado’s highest peak, we golfed North America’s Highest Golf Course in Leadville. Then, start with short, easy hikes, and work your way up. If you’re short on days, at least take periodic rests while hiking at elevation—even more often than your body might feel like it needs. My dad felt fine on our hike until he got a sudden headache from elevation sickness and had to turn around. My mom, slow and steady, passed him and made it to the top.
When I go for a long hike, I set the expectation that I’m going to spend the day outside. Instead of putting pressure on the act of hiking, I simply spend the day on the trail. It’s hard to explain, but that’s the mindset that works for me.
Hiking Gear
To hike the rolling hills of the Midwest, all you really need is a good pair of walking shoes. In a legit mountain range like the Rockies, a bit of planning is necessary to ensure your comfort and safety.
Hiking Shoes or Boots: I know hiking boots are generally not super stylish or comfortable, but they do help prevent injury. If I’m on a trail with bouldering or scrambling, I need the ankle stability provided by boots. But, on a well-maintained trail, I will wear hiking shoes. Everyone has different preferences, so head to your nearest REI or Sierra Trading Post and try on a bunch of shoes!
I would also recommend hiking socks to prevent blisters. Darn Toughs are the best, but they’re not cheap.
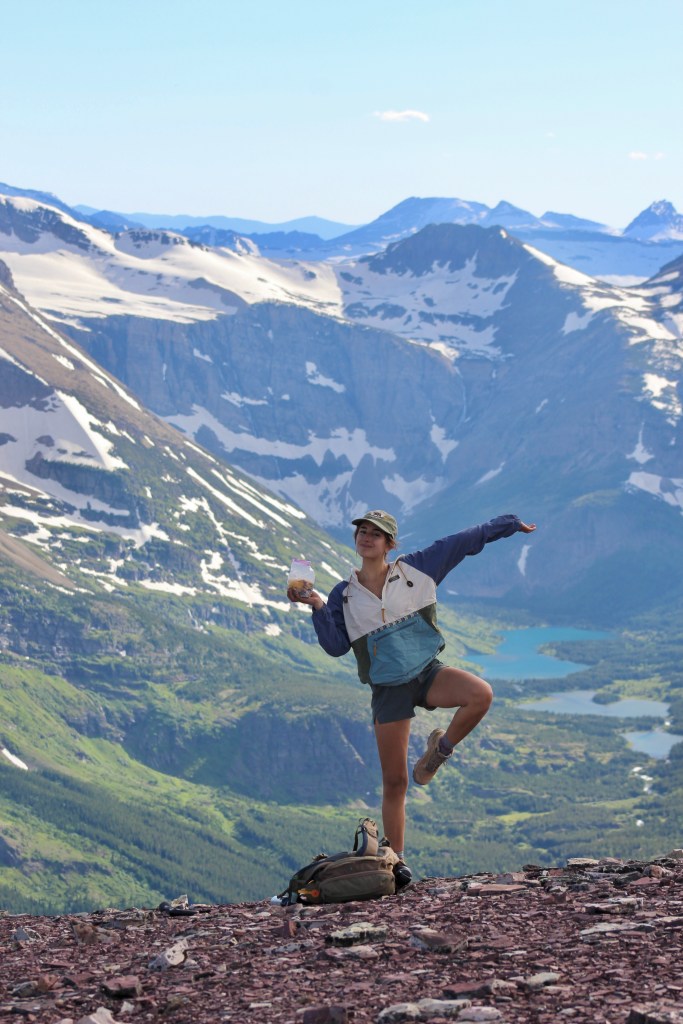
Jackets: As discussed in the weather section, mountain weather is unpredictable. If you plan to be out on the trail for more than an hour, I suggest bringing a rain jacket. If you plan to hike above the treeline, bring a windbreaker and/or something warm, even in summer. The temperature will also drop near a glacier or alpine lake—if you want to have a snack by the lake at the end of your hike, bring something warm to wear!

Sunscreen: The thin air at elevation makes you more susceptible to sunburn. I also always bring a hat and my Goodr sunglasses (not sponsored).
Hiking Bag and Bladder: You can get a decent hiking backpack at Amazon or Walmart for under $30. Please do your back and shoulders a favor and make the investment.
Personally, I love my Camelbak water bladder/reservoir, so I don’t have to stop to dig out a water bottle every time I want a drink. The convenience keeps me hydrated. Plus, water bottles tend to sit awkwardly in my bag and dig into my back. For me, lukewarm water is a fair tradeoff for enhanced comfort.
Hiking Poles: I don’t use hiking poles, but I know a lot of hikers love them. They help with stability, especially on water crossings, and take pressure off your knees.
Bear Spray: Bear spray is a regional requirement, so check if it’s recommended in your destination. In Glacier, bear spray is non-negotiable, and I got into such a habit of carrying it that I still bring it on hikes where it’s not necessary. In two summers living in Glacier, I never used mine, but I have quite a few coworkers who have needed theirs. If you just need it for a short trip, look for a rental or borrowing program at your destination.

How to use bear spray: Bear spray is essentially a very potent pepper spray. It should come with a holster, which I attach somewhere accessible with a carabiner. Keep the safety on at all times that you are not using it, even while you are hiking—you are far more likely to accidentally spray yourself than to need to quick-draw your bear spray. If a bear is aggressive or charging you, do not spray directly at the bear; spray the ground in front of its feet (paws). It will function like a barrier. Please only spray a bear if it is acting aggressive, and read more in the wildlife safety section.
Read more about bear spray on the National Park Service website.
Other Assorted Items in my Bag: Portable phone charger, snacks, chapstick, nail file, hand sanitizer, digital camera (Canon Sx740 HS)
Wildlife Safety
Wildlife varies by destination, so you will have to research the specifics of your own location(s). Bear spray can be deployed against any aggressive animal per my earlier instructions.
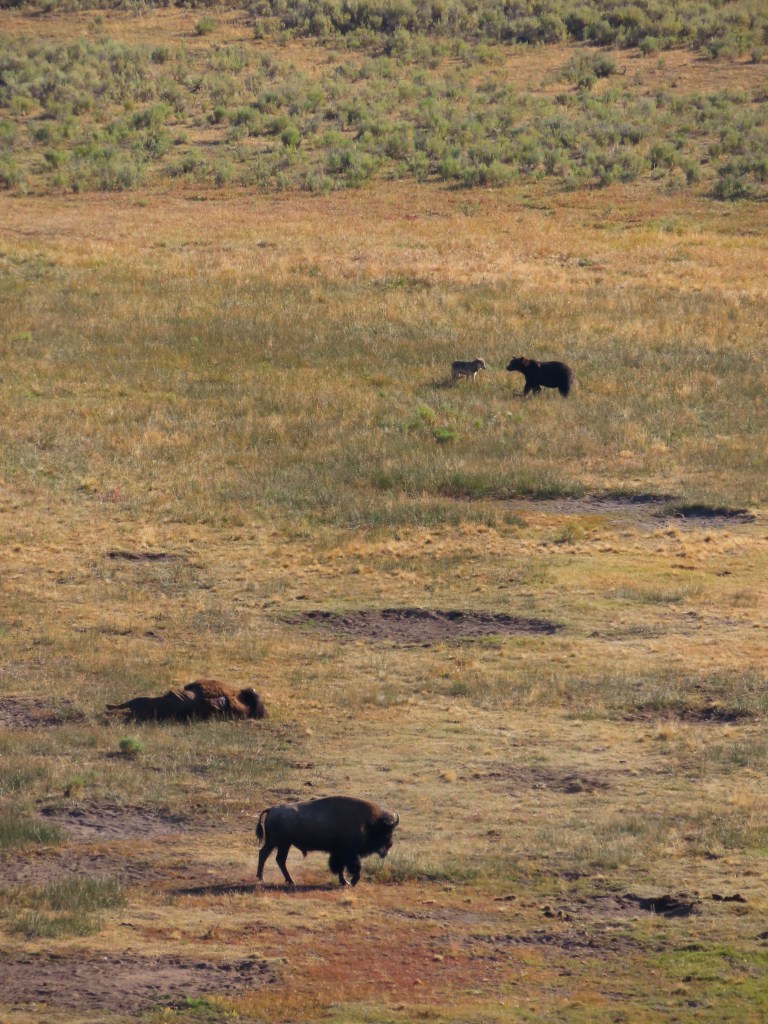
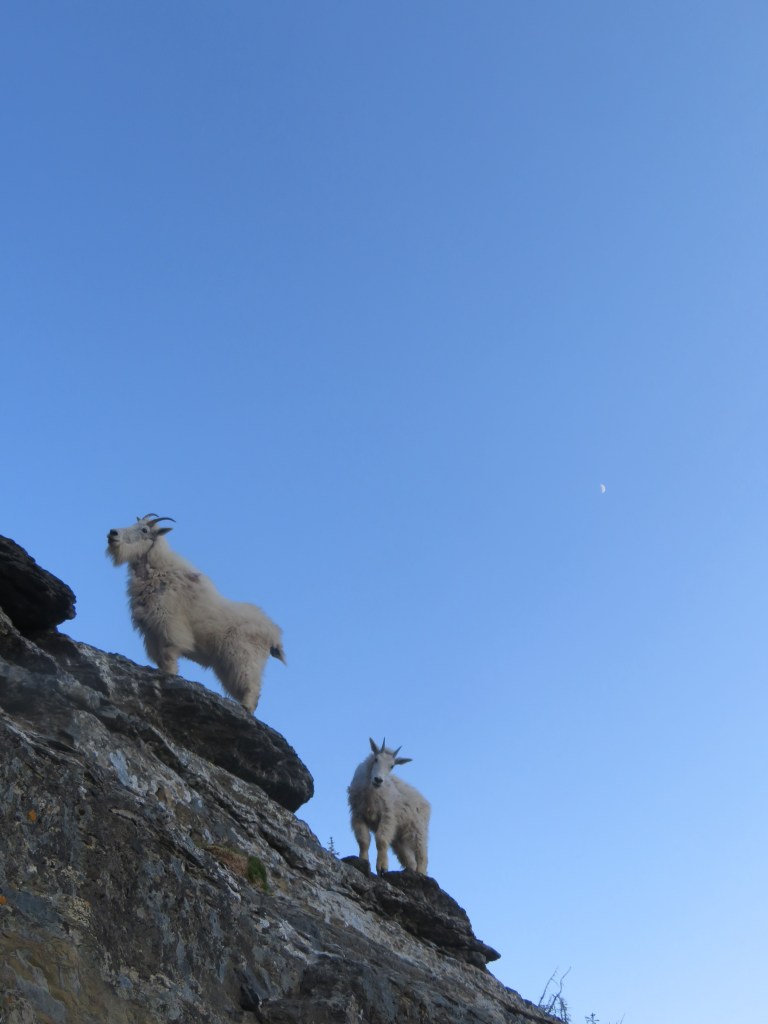
Keep a football field of space (100 yards) between yourself and a bear or moose. For mountain goats and bighorn sheep, the recommendation is 50 yards. For bison and elk, 25 yards (though I would recommend further—they are BIG animals).
Make noise on the trail as to not sneak up on and startle animals. Most bears are afraid of humans, so just let them know you’re coming by chatting with your mates or calling, “Hey bear!” Also, we call bear bells “dinner bells” because they don’t really work.
Encountering Wildlife on the Trail: If you maintain a safe distance, you may watch and photograph wildlife on the trail all you want!
Oftentimes, animals use the same trails as humans because they take the path of least resistance. If an animal is coming down the trail toward you, back away until you find a spot to safely step out of the animal’s path. If you are on a hillside, take the lower elevation as to seem unthreatening to the animal. Most likely, they will just carry on past you.
For the safety of humans and animals, do not feed the animals. This includes squirrels. In Zion National Park, Utah, I sat down for a snack where the Riverwalk meets The Narrows, and a rock squirrel jumped onto my lap and tried to grab at my food. They might be cute, but they have sharp little claws and teeth.


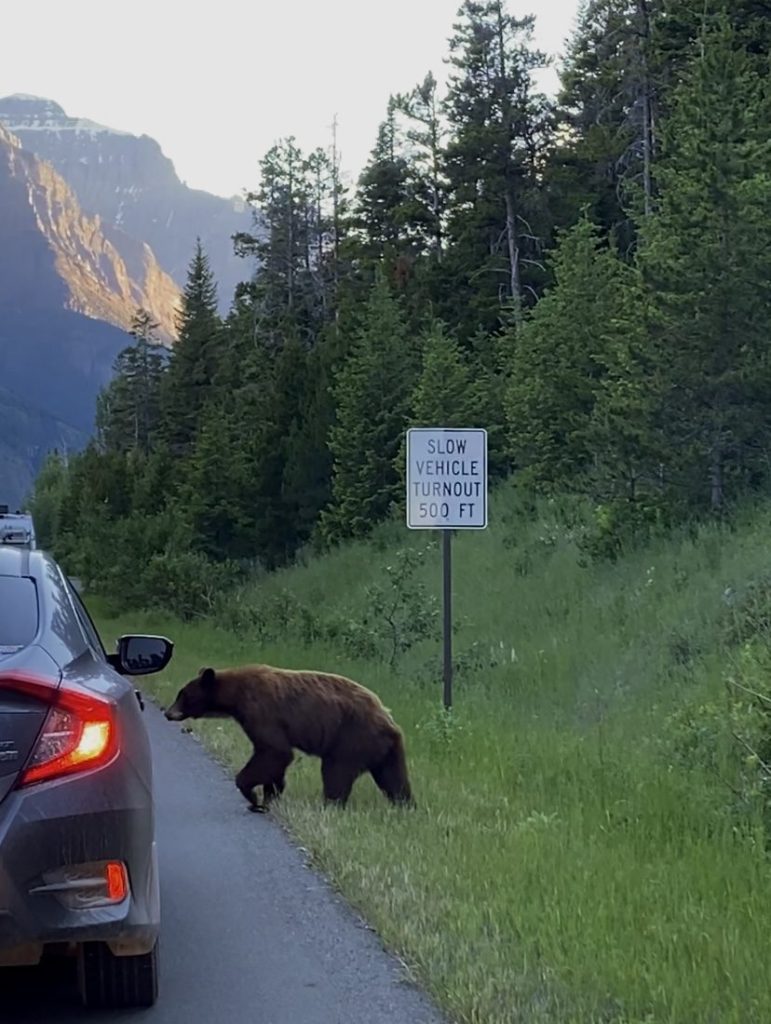
Viewing Wildlife from the Road: If you’ve visited Yellowstone National Park, you know all about wildlife-induced traffic. They’re so common, we have nicknamed them “bison jams” or “bear jams.” Sometimes, these are caused by animals standing in the road and blocking traffic. More often, it’s tourists stopping to look at an animal on the roadside.
For numerous safety reasons, do not stop traffic to look at an animal. If you find a safe pullout to stop, follow the same safety guidelines as if you encountered the animal on a trail. Remain aware of your surroundings, and don’t wander into traffic.

Hiking Etiquette
The golden rule of hiking: LEAVE NO TRACE.
Don’t litter. Don’t pick flowers or plants. Don’t take rocks. Don’t go off trail in fragile areas. (If you don’t know if it’s fragile, just don’t!) Don’t cut switchbacks anywhere because it erodes the trail.
Uphill hikers always have the right of way. If there is not enough space to pass, downhill hikers should step aside.
Don’t play music out loud (on popular trails—if you’re isolated in the backcountry, it doesn’t really matter). Try not to disturb the peace for other hikers. Plus, a park ranger told me bears don’t recognize music as human, so it doesn’t ward them off.
If you must smoke, don’t do it where other hikers are stopped to rest or enjoy the view.
Smile, nod, or say hi to other hikers! This isn’t the New York City subway—acknowledge your fellow humans!
Happy trails, I hope to see you out there!

Leave a comment